Inline Inspection
What is inline inspection?
Inline inspection is a key control tool in the manufacturing process to ensure reliable product quality for tubes, bars, plates, and many other metal fabrication industries.
Defect detection performance, reliability and speed are constantly increasing and are of paramount importance for improving the overall efficiency of the whole production cycle.
As quality standards and testing specifications become increasingly demanding, the performance that is achievable using Conventional UT, Phased Array Ultrasound Testing (PAUT) and the advanced imaging techniques such as Plane Wave Imaging (PWI) and Total Focusing Method (TFM) technologies allow for better measurement accuracy while increasing the inspection speed. This higher detection resolution and higher accuracy produce a more reliable classification of indications and defects, improving quality and reducing false calls. Having the most advanced testing technology is essential in meeting the demand and maintain a competitive advantage.

Fastview, the software platform
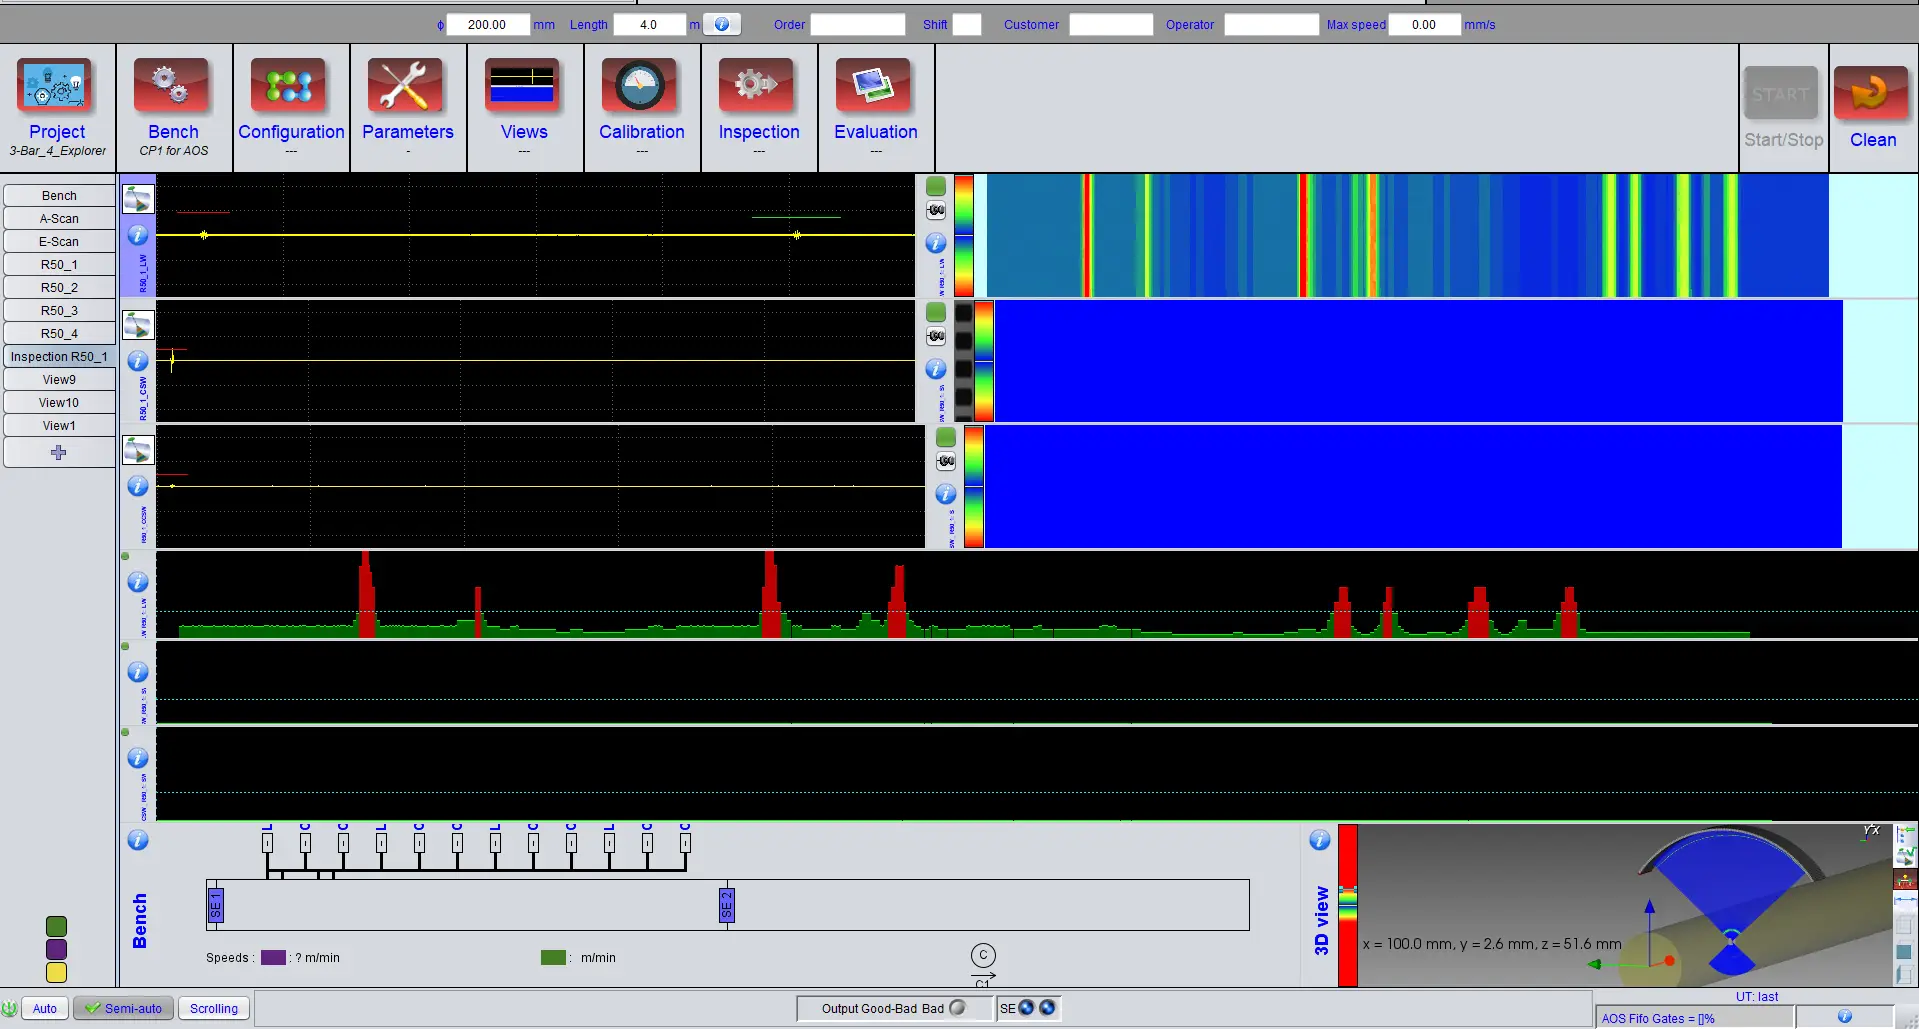
On top of TPAC’s portfolio of advanced electronic offer, FastView is a software platform designed for inline applications including advanced Bench Management tools and supporting all TPAC electronic platforms and all advanced technologies. FastView is completely automatic and fully integrated with the line PLC and Level 2-3 MeS Communication systems, including product sorting, defect indication/tracking and reporting
FastView is an industrial mature and proven platform that handles the complete inspection process in continuous operation environments that supports:
- Bench configuration for tube, bar, weld, wheel or custom complex specimens
- Ultrasonic set up and focal law calculations including ray tracing on 3D parts
- Full automatic calibration (probe sensitivity and reference defect)
- Automatic inspection and reporting, including defect sorting
With technology advancements in time and the evolution of inspection standards, inline systems loose efficiency and can become outdated.
Using TPAC’s technology it is possible to retrofit existing installations whether to conventional UT or PAUT technologies.
Inline inspection typical uses
Bar and billets
Normal incidence and shear-wave is the method of choice where a full volumetric inspection of bar is used for detecting small internal flaws, voids, and other anomalies, as well as shallow seams and subsurface defects. The additional detection capability that the more advanced imaging technologies TPAC product offer, not only improve the detection performance, but also allow a more accurate measurement of the indications, reducing false calls.
Electric Resistance Welded (ERW)
In ERW pipe, monitoring weld profile and detecting longitudinal weld zone defects. When installing the inspection system in the hot zone, the system can be used also to monitor the weld trim and provide quick feedback on scarfing tool performance. Installed in the cold zone, after the forming rolls, for defect detection when the pipe has reached its final shape.
Longitudinal Submerged Arc Welding (LSAW)
Large-diameter tubes with wall thicknesses above 25 mm are produced from shaped heavy plate with a submerged arc welded longitudinal seam. The large wall thicknesses and material volume to inspect typically requires using a variety of probes to inspect for the many types of defects such as longitudinal, transverse and laminations.
Helical Submerged Arc Welding (HSAW)
HSAW large tubes are produced from steel strip as spiral tubes as the coiled strip is continuously unrolled, helically shaped and welded.
Longitudinal and transverse flaws are detected with an angle beam inspection. Additional probes are used to inspect the heat-affected zone next to the weld seam for laminations and inclusions.
Seamless tubes
Seamless tubes are used in the most demanding and critical applications and require a specific type of inspection that includes the detection of longitudinal, transverse, oblique, lamination defects as well as wall thickness measurement.
Train Wheels and Axles
Inspection of train wheels and axles are getting increasingly demanding as trains get faster or transport more load, and infrastructure expands.
Whether during in manufacturing or in service as train wheels require periodic reprofiling, complex inspections need to be carried out to ensure that they comply with safety standards. The combination of TPAC’s electronics and FastView inspection software provide all the tools for building the right solution that combines conventional UT, Phased-Array and Advanced Imaging Techniques in one seamless and easy to integrate package.

